Precautions for Occlusal Photography and Occlusal Examination
During clinical scanning of occlusion, if the problem of inaccurate occlusion is not dealt with in time, occlusal problems may occur after the prosthesis is made and tried in the mouth. At this time, it often takes more time to adjust the jaw or even rework. It is therefore critical to ensure that the bite data is accurate.
In order to obtain the correct occlusion data, in addition to relying on the automatic stitching and optimization calculation of software, scanning techniques and software operation are also very important. Based on the common problems of intraoral occlusion, this paper will comprehensively analyze the possible causes and propose effective methods to improve the accuracy of occlusion.
Common causes of malocclusion and recommendations:
when scanning, the maxillofacial surface is not checked for foreign bodies, and the maxillofacial saliva and blood are not dried when scanning the upper and lower jaw data, the software will identify these foreign bodies or liquids as part of the teeth, thus changing the occlusal contact points of the maxillofac ial surface, resulting in occlusal elevation.
Solution: When scanning, check whether there are foreign bodies in the mouth and dry the saliva and blood on the surface of the teeth. When scanning the bite, dry the saliva and blood on the side of the cheek for scanning.when the anterior teeth were restored, only the occlusal data of the anterior teeth area were scanned, and the occlusal instability led to the elevation of the posterior teeth area.
Solution: Be able to scan the posterior teeth area, not the anterior teeth area, and try to scan the occlusal stable contact area.when the patient lies down to scan the occlusion, the posterior teeth will recede unconsciously, and the results of the occlusion scan are inaccurate.
Solution: When scanning the occlusion, adjust the dental chair to an upright state, and hold the patient's chin with your hand to ensure that the patient's occlusion remains unchanged.When scanning the occlusion, the patient is in a tense state, clenching hard on one side of the occlusion and opening the other side.
Solution: Before scanning, communicate with the patient in advance, advise the patient to swallow saliva, and try several occlusal touches on the upper and lower jaws to ensure that the patient is in a natural and relaxed state of grinning.The scanner enters the mouth in the state of starting to scan, and the patient starts to scan before the occlusion is completed. The data of the patient's opening is scanned, resulting in the elevation of the occlusion.
Solution: The scanner enters the mouth in a suspended state, pulls the buccal mucosa, allows the patient to bite, the upper and lower jaws are in natural contact, and then click the start button to start scanning.Due to the influence of external forces such as collision and drop, the accuracy of the scanner drifts, resulting in serious bite through or bite open in the software, and the "bite check" tool does not provide the correct bite relationship.
Solution: After eliminating the above factors, it is recommended to recalibrate the scanner if severe puncture occurs as shown in the figure below.

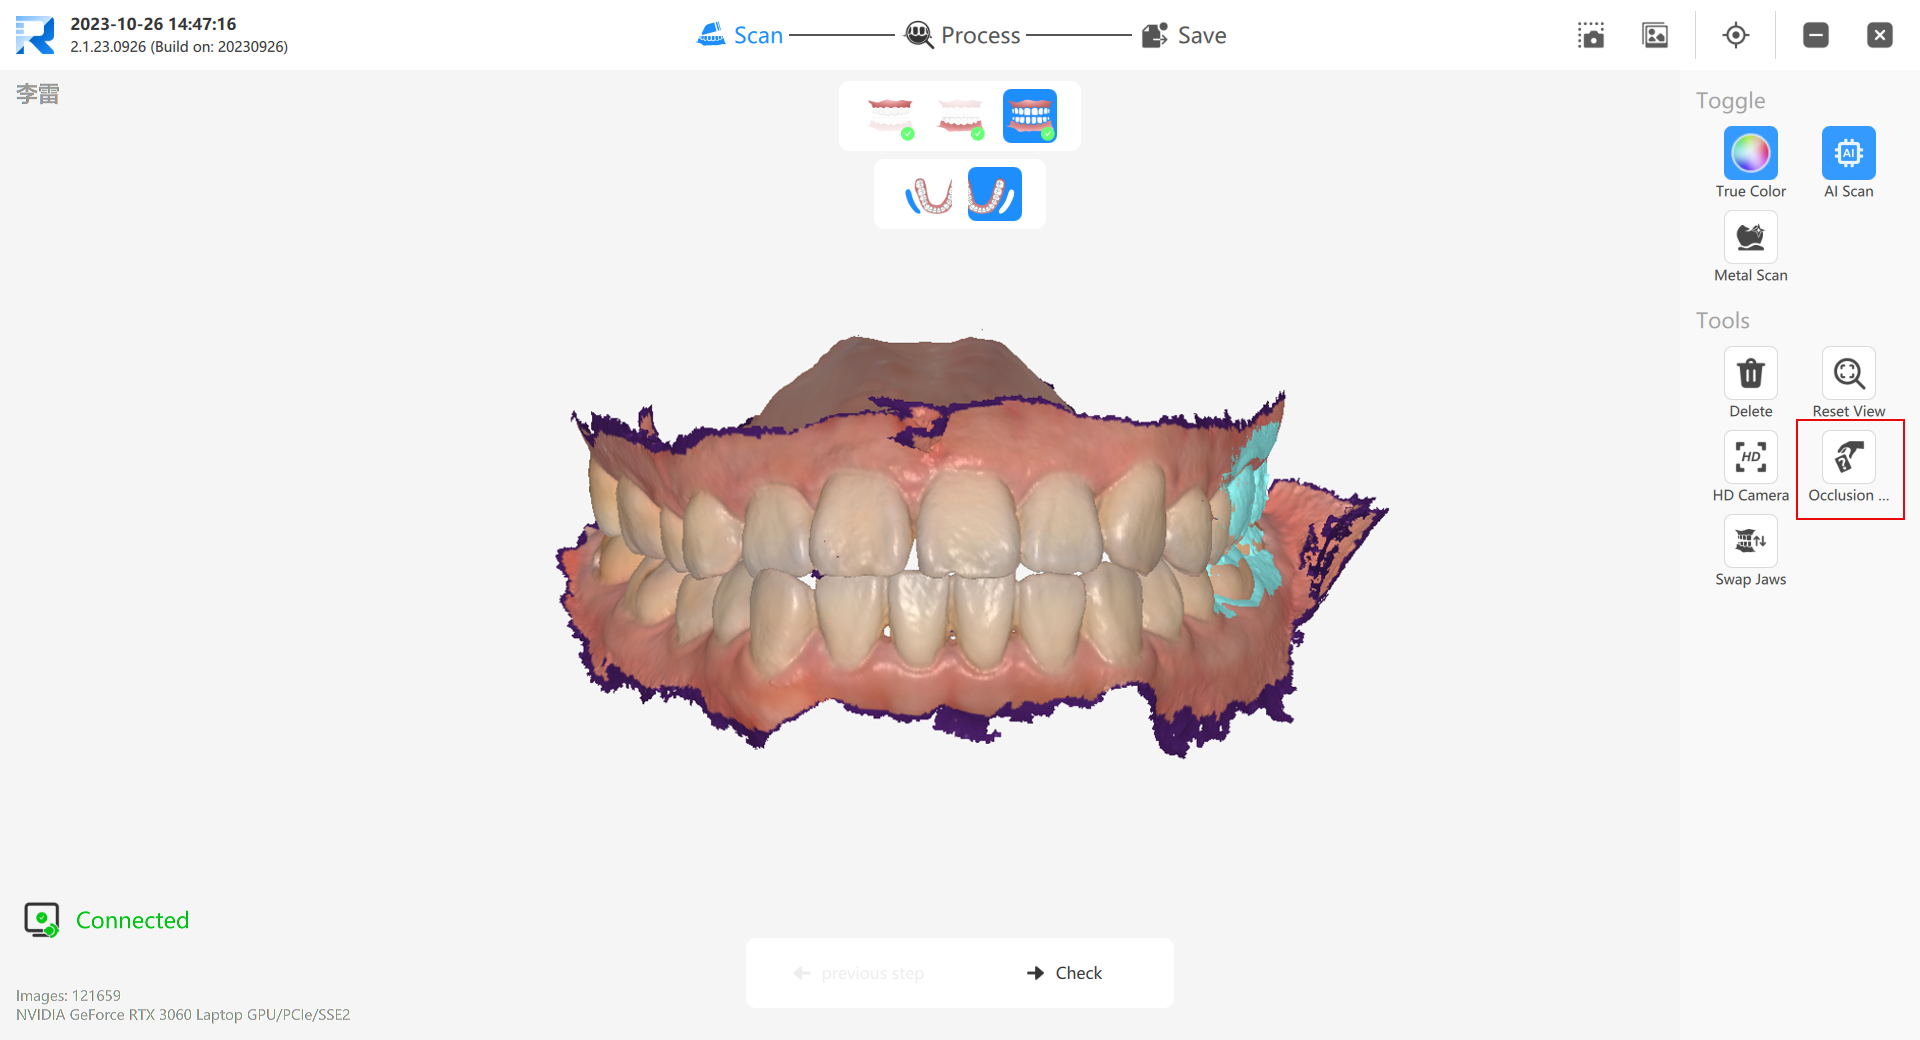
Introduction to the function of bite inspection
In general, we recommend shooting one set of occlusions on the left side and one set on the right side, and the results of the software "optimization check" meet the vast majority of scenes. After the "optimization check" is completed, if it is found that the occlusion relationship is not in line with expectations, you can return to the scanning page and enter the "occlusion check" module on the occlusion shooting page:
The bite check function provides four alternative bite relationships, namely "bite 1", "bite 2", "optimized bite" and "tight bite". The system defaults to "optimized bite":
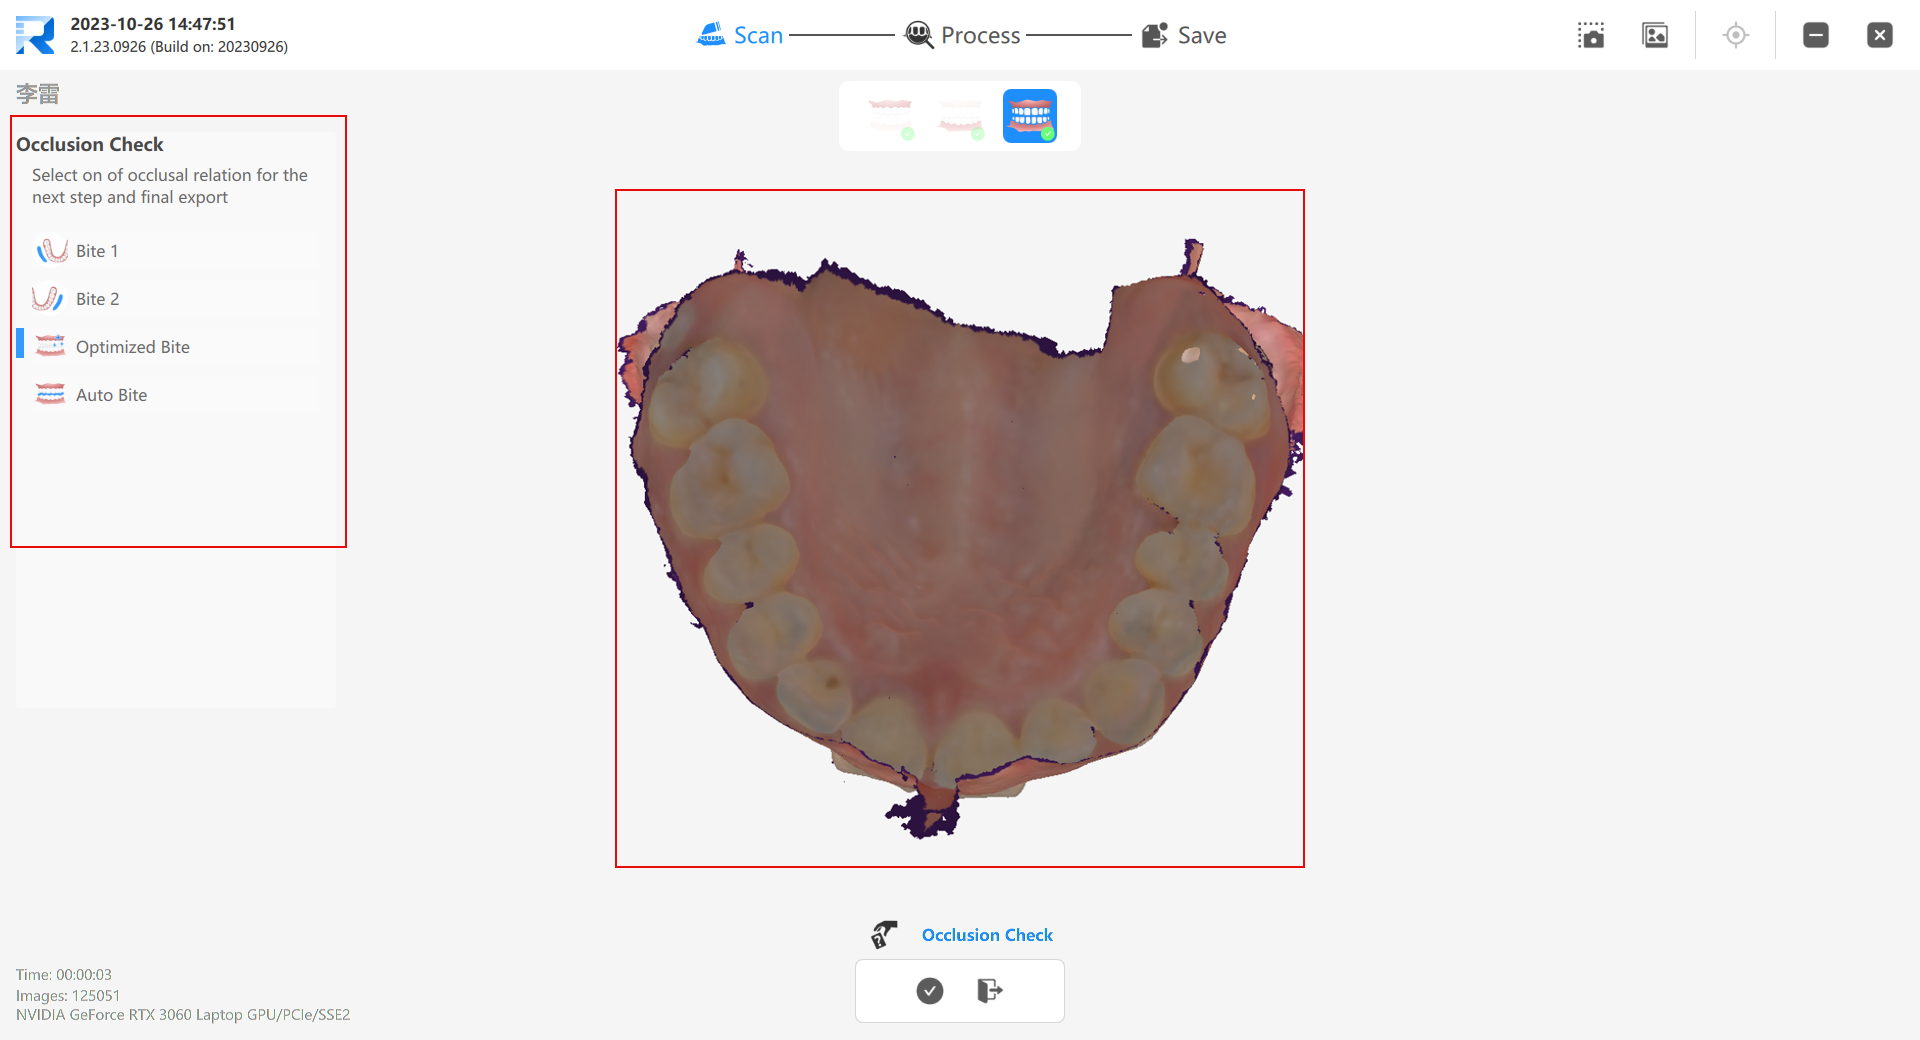
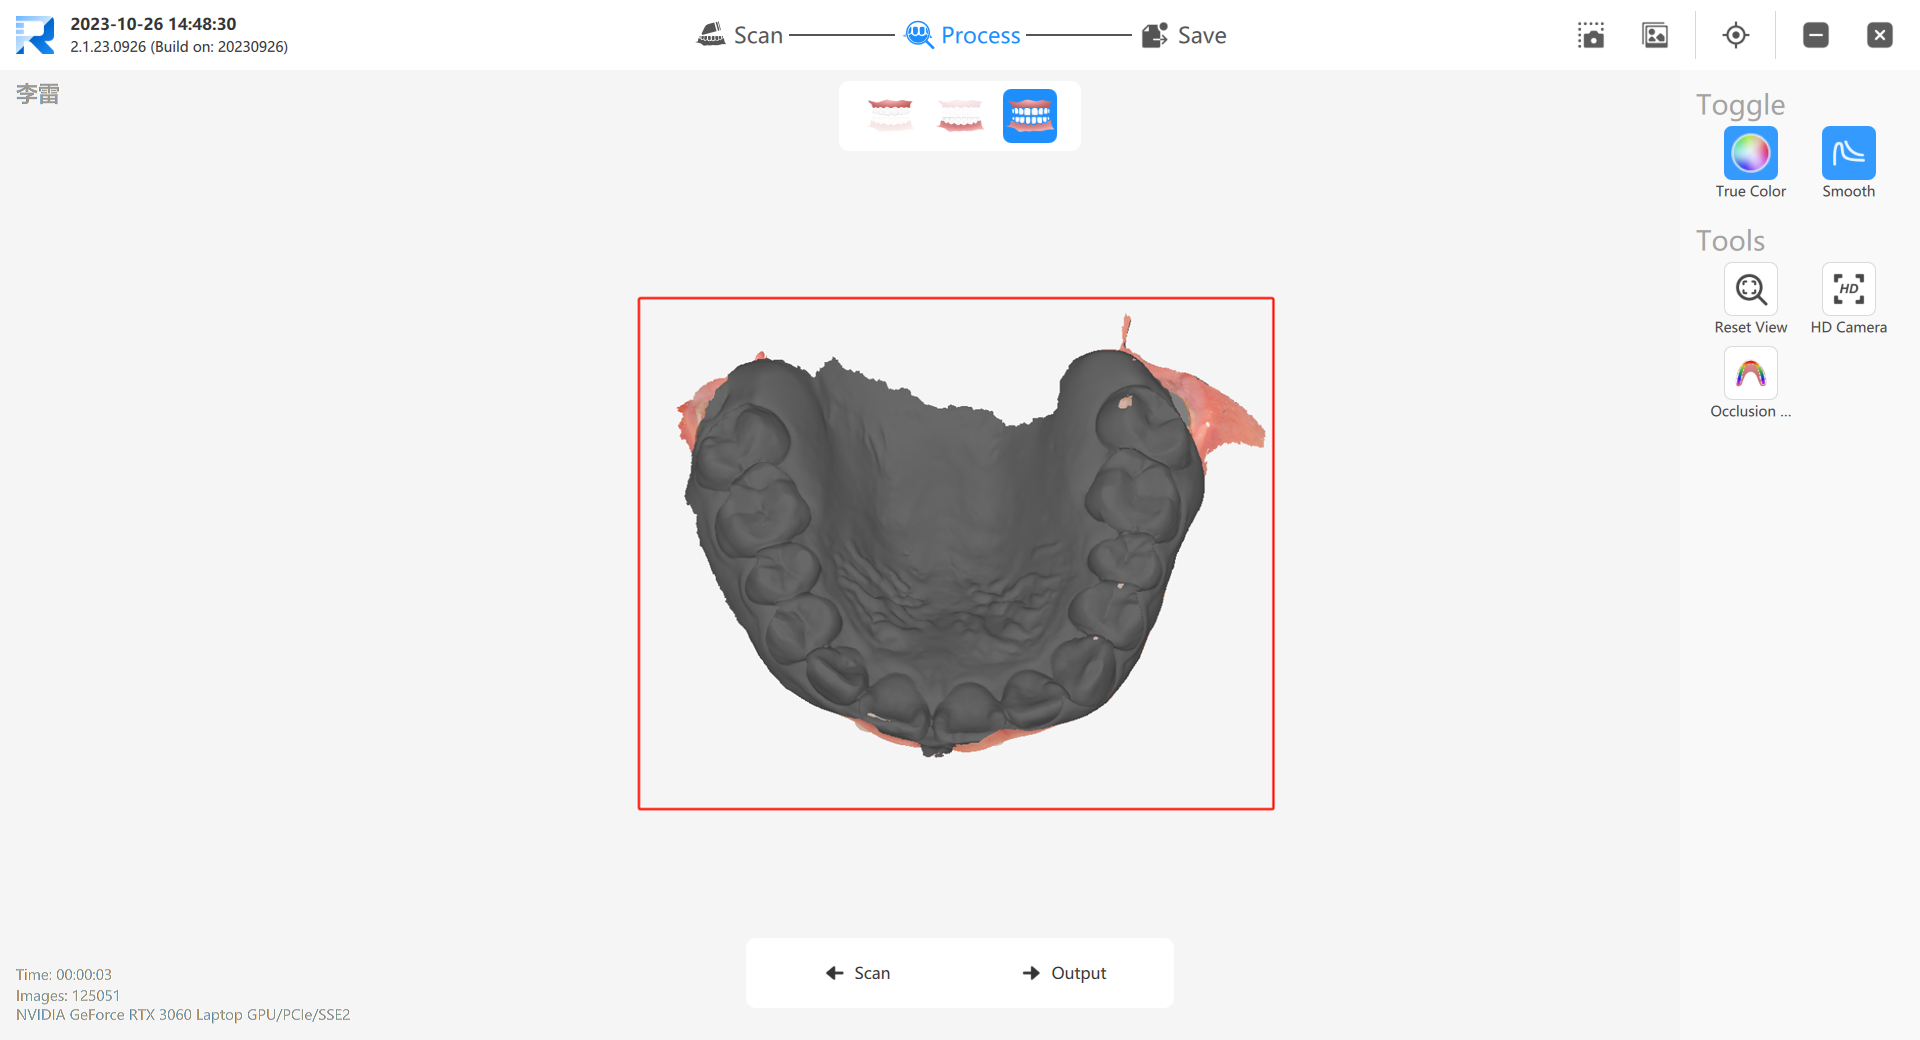
Select one of the four alternatives, such as "Bite 1", and click "OK" to enter the "Optimization Check".

If none of the four alternatives meet the requirements, go back to the scan page and shoot again.